The step-down exercise is done standing on a low step on one leg: you bend that knee and hip to lower the other heel slowly toward the floor, tap lightly, then straighten back up without pushing off the lower foot. It builds the quadriceps and hip control needed for going downstairs and running, so physical therapists use it for runner’s knee, patellar tendinitis and knee osteoarthritis. This guide is general education; a therapist who examines you chooses the step height, version and dose.
Last updated By the Monon Therapy Collective editorial team
- Main muscles
- Quadriceps and glutes of the standing leg
- Equipment
- A bottom stair or a low, stable box
- Key cue
- Knee tracks over the second toe
- Often used for
- Runner’s knee, patellar tendinitis, knee arthritis
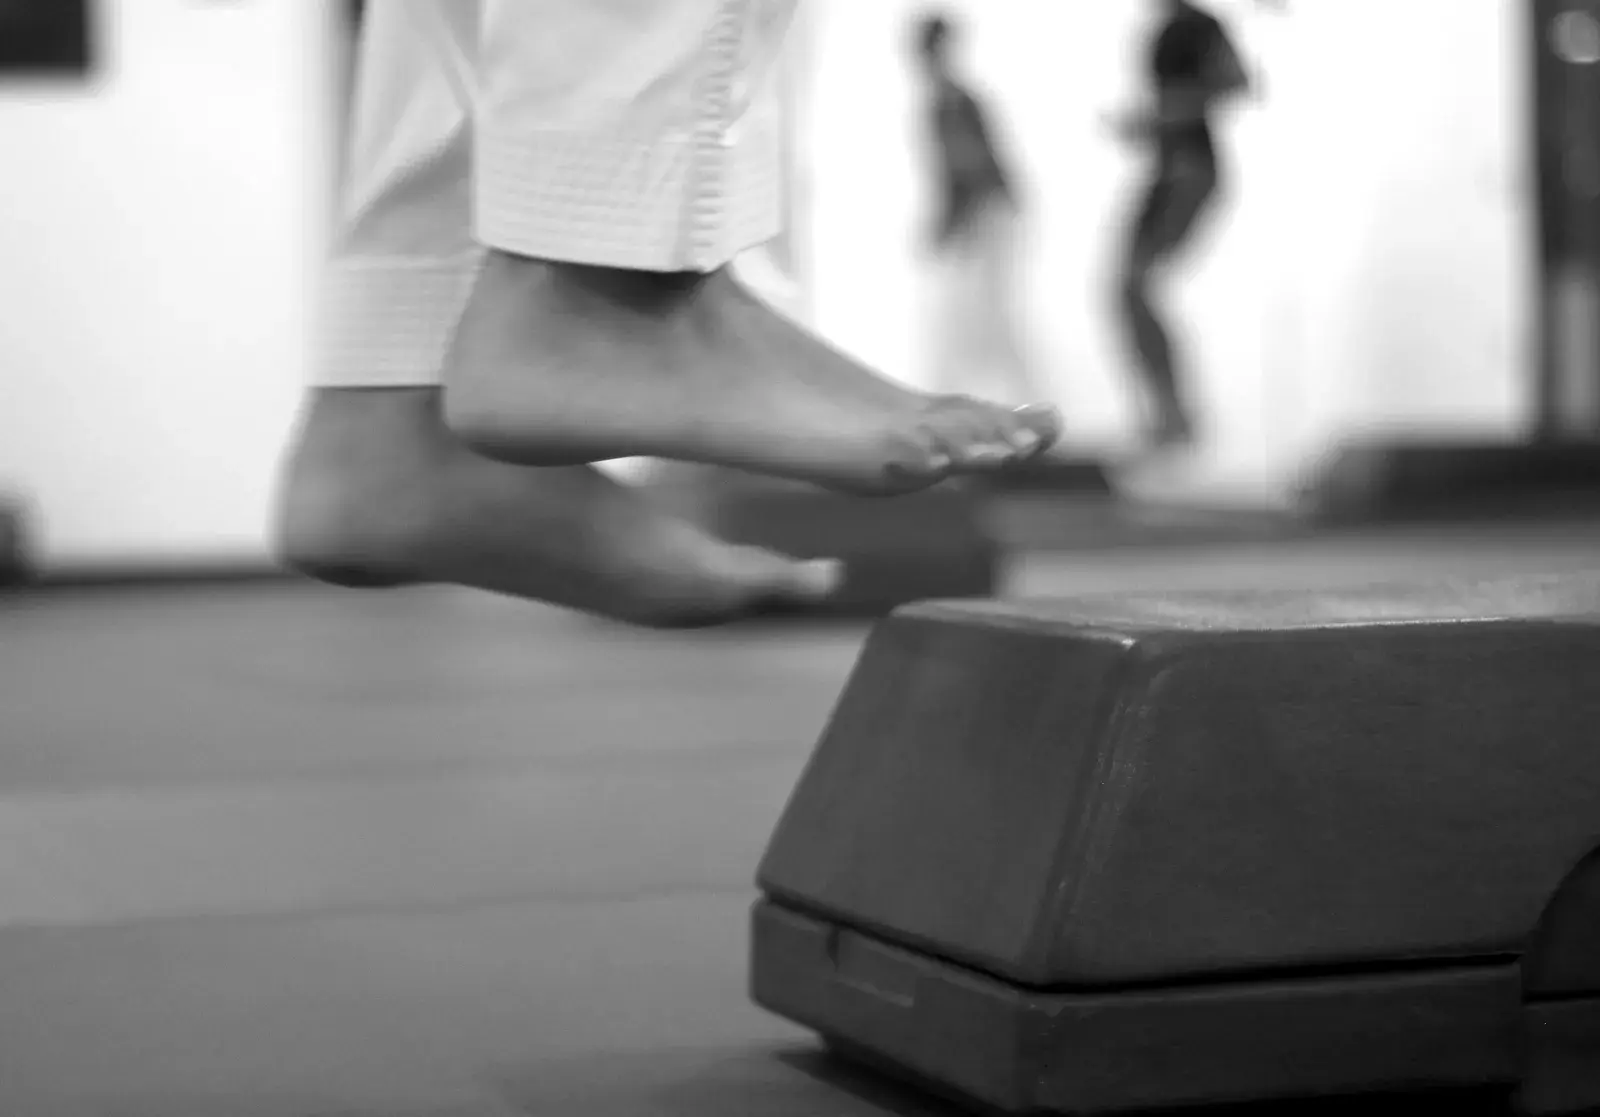
Why do therapists watch you do a step-down before they teach it?
They watch it because a slow step-down shows a lot about how your hip and knee work together on one leg. A therapist looks for the knee diving inward, the opposite hip dropping, the trunk leaning sideways or the foot rolling in, and notes which side looks different.
Those observations do not diagnose anything on their own, but they help decide where to start: more hip strength, more quadriceps strength or more control of the foot. Recovery plans after knee surgery often use the same movement later to check progress.
Lateral or forward step-down: which one should I do?
The lateral step-down, lowering the free foot off the side of the step, is usually the easier place to start and is what most people mean by the exercise. The forward step-down, lowering the free foot off the front, bends the knee farther and loads the front of the knee more.
Forward step-downs are closer to how you walk down stairs, so they often come later, especially for people whose pain is at the front of the knee. A therapist will pick the direction based on which version you can control without pain. The knee pain questionnaire is the first step toward that assessment.
How does the step-down help with stairs, runner’s knee and knee arthritis?
Going downstairs asks the quadriceps to control your body weight as they lengthen, and the step-down trains exactly that in a small, safe dose. That is why it shows up so often for people with knee pain going up and down stairs.
With runner’s knee, the focus is usually on hip and knee alignment; with patellar tendinitis, it is gradual tendon loading; and with knee osteoarthritis, a low step and a rail let people strengthen the knee without much pain. For Monon Trail runners, the running injury prevention guide shows where single-leg work fits in a training week.
Step-down mistakes that stress the knee
The most important mistake to fix is the knee collapsing inward, because it changes how load passes through the front of the knee. Lower the step or slow the movement until the knee stays in line.
- The knee diving inward past the big toe.
- The free hip dropping toward the floor.
- Leaning the trunk sideways to reach the floor.
- Landing on the free heel and pushing off it to stand.
- Lowering fast and catching yourself at the bottom.
Easier and harder step-down options
Lower steps, a rail and a shorter range make it easier; higher boxes, slower tempo and added weight make it harder.
- Easier: a very low step and a firm grip on the rail.
- Easier: only lower partway, without touching the floor.
- Use a mirror in front of you to watch the knee.
- Harder: a higher box, still with the knee in line.
- Harder: a slower count down, or holding a dumbbell.
- Harder still: a forward step-down from a tall box or a full single-leg squat.
Step-down, step by step
Use the bottom stair at home with a hand on the rail, and start lower than you think you need.
Choose a low step
Pick a stable step a few inches high, such as the bottom stair. Hold a rail or wall lightly for balance.
Stand on the working leg
Stand on the step on the leg you are training, with the other foot hovering just off the front or the side edge.
Lower slowly
Bend the standing knee and hip together, sending the hips slightly back, and lower the free heel toward the floor over two to three seconds. Keep the standing knee in line with the second toe.
Touch, do not land
Let the free heel just brush the floor without taking weight. Keep breathing; do not brace and hold your breath.
Stand back up
Push through the whole standing foot to straighten up to the start. Your therapist chooses the step height and the number of repetitions.
Stop step-downs and get the knee checked if...
- The knee gives way, locks or catches.
- Swelling appears the same day or the next morning.
- Pain at the front of the knee is sharp, not a dull working ache.
- You lose balance or have had a fall recently.
- Pain lasts into the next day and is worse than before.
If you think it is an emergency, call 911.